Pick EML as the source file
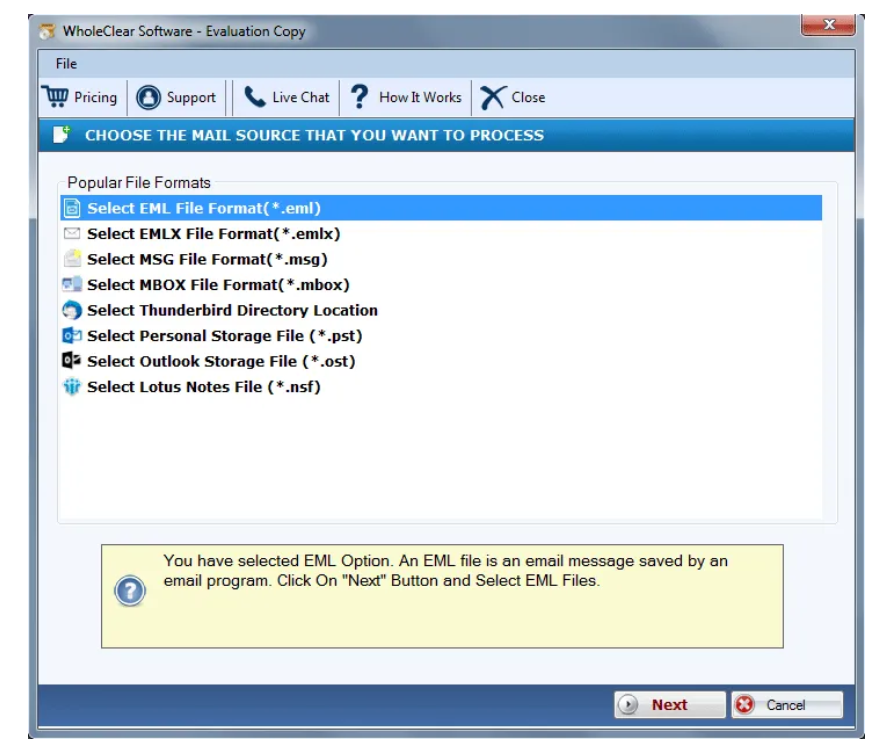
- After installing the app, when you launch it, you will find a window appeared on your screen where you need to choose EML file format and add EML files.
- From the available file formats, go with ‘Select EML file format’ option. Thereafter, press the ‘Next’ button which will take you to the next step.
Load EML files
Once you select EML file format, it’s time to browse the necessary EML files. For this, you will see two radio buttons:
- Select Multiple EML File(s)
- Select a Folder having EML files
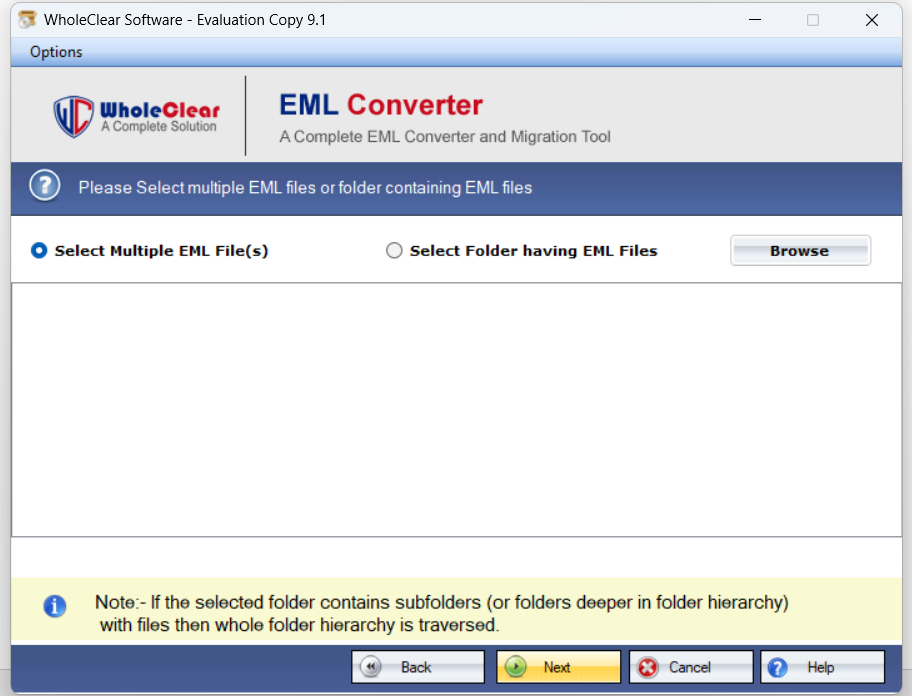
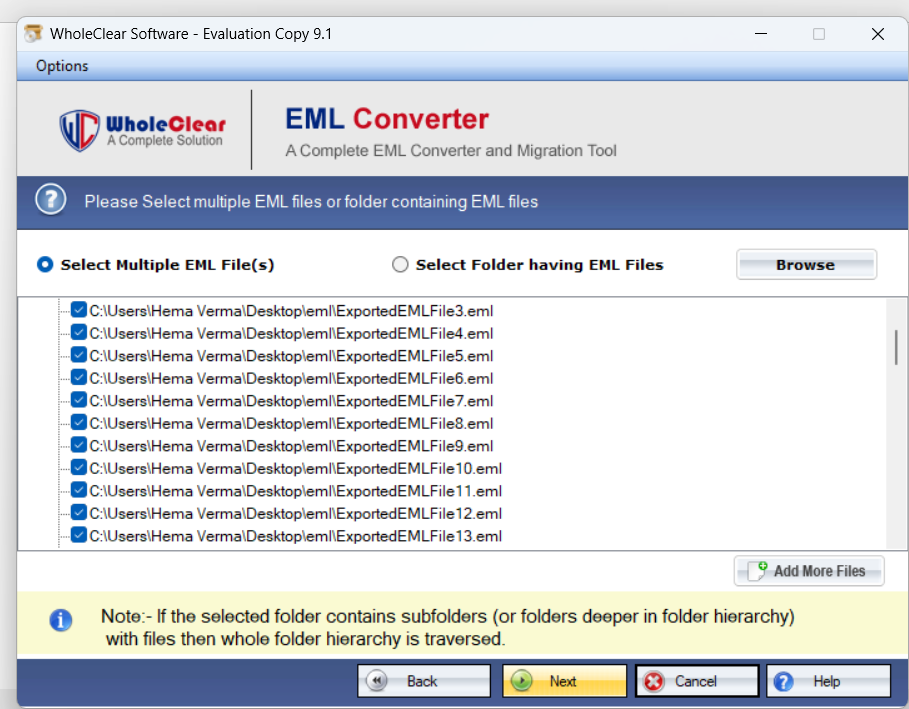
- By selecting one option, you need to add EML files. For many EML files saved in different locations, choose the option ‘Select Multiple EML files’ & for EML files saved in one folder, go for the ‘Select EML folder’ option.
- Thereafter, go to the ‘Browse’ button and select the required EML files from your system to add to the software panel.
- After adding EML files, you will see the ‘Add More Files’ button which helps you to still add more EML files if you want. Then, press the ‘Next’ button.
Select MSG File Format
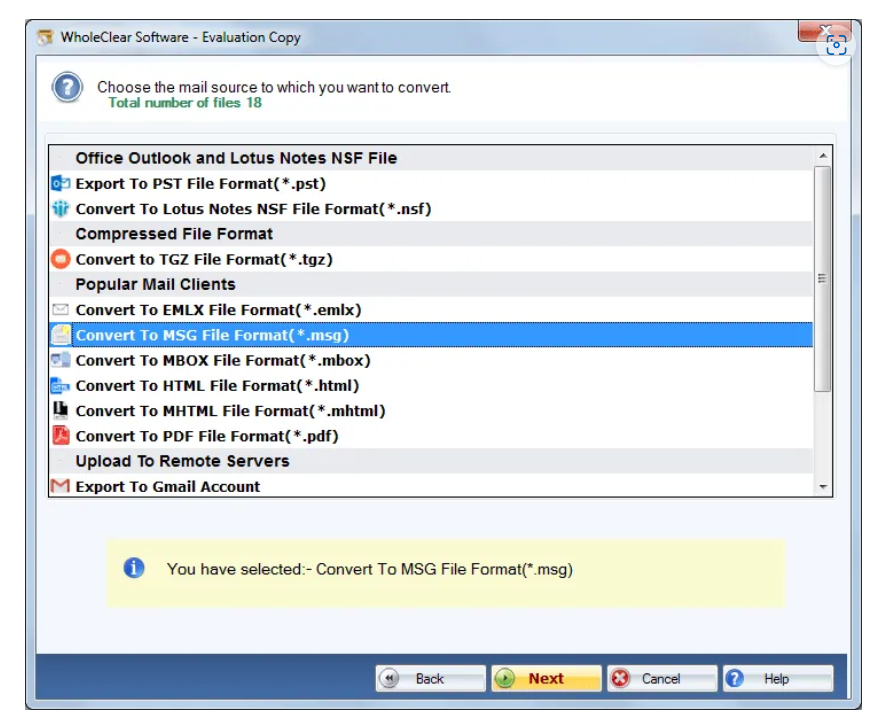
- In this step, pick the option ‘Convert to MSG format.’ Then, simply tap on the ‘Next’ button which will open a next window.
Filter files and set output path
- Here, you can filter emails files to export to MSG file format. Simply mark the check box for ‘Date Filter’ available under the head ‘Export Form’ and then enter a beginning date in the ‘From’ box and an end date in the ‘To’ box.
- Besides to Export Form, you will also find two more heads i.e. process log and the error log. They will show you details of the conversion process like the number of files selected & errors during the conversion.
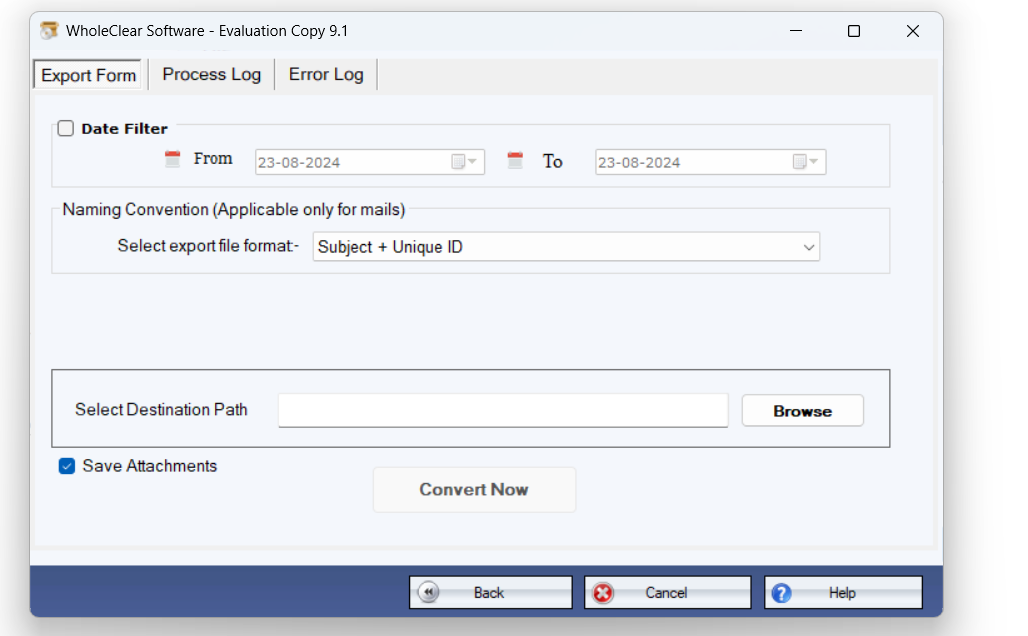
- Next, under Naming Convention, pick the desired option to select the export file format. After that, tap on the ‘Browse’ option and mention a path for saving the converted MSG files.
- At last, press the ‘Convert Now’ button and this begins saving emails files as MSG files.